If you ride a bike regularly, then sadly, punctures are a fact of life. Being able to fix a puncture quickly and efficiently while you’re out on a ride or at home is essential for any rider. The less time you spend working on your bike, the more time you can spend riding it!
In this guide, we talk you through the process of fixing a bike puncture. Fixing a puncture is a simple thing that every rider should be able to do. But, if you haven’t done it before, don’t worry. Take your time and follow our step-by-step instructions and you’ll be fine
How do I know if my tyre is punctured?
Common signs of a tyre puncture include:
- The tyre deflating at a rapid rate. Tyres naturally lose air pressure over a period of weeks, so quick deflation can be indicative of a puncture.
- A hissing sound. You may be able to physically hear the puncture.
- Items such as nails or thorns protruding from your tyre. Giving your tyres a quick look over when it’s safe to do so may help you spot punctures, meaning you can tackle them before you set out for a ride.
Can punctured tyres be repaired?
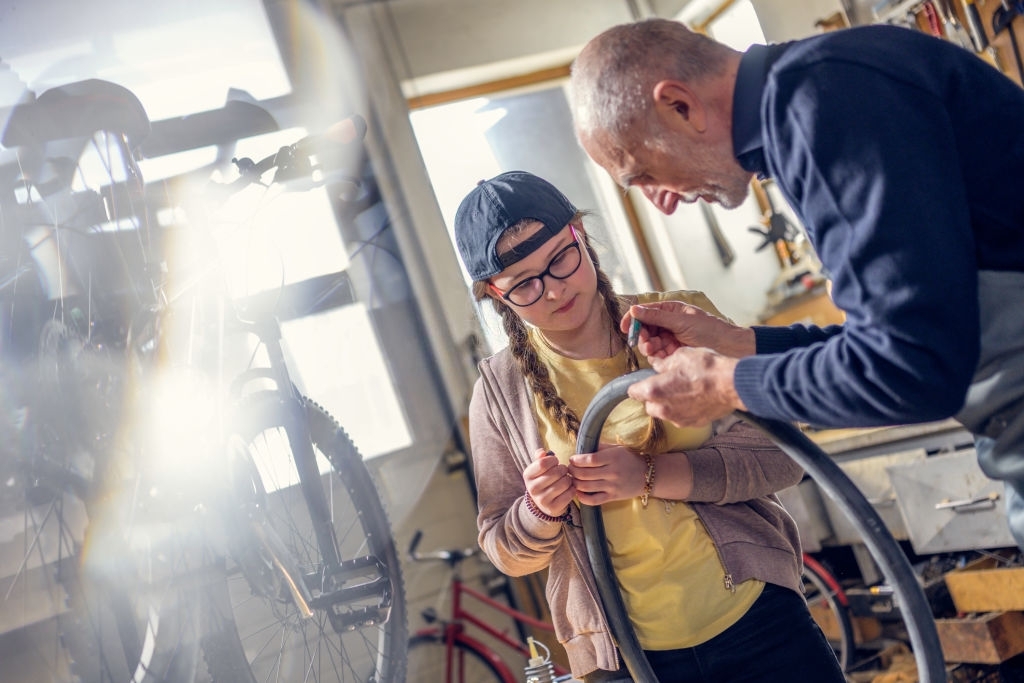
While you’re more than welcome to pop into your local Pedal Revolution store and have a member of our team help you, this simple step-by-step guide should help you patch up your own tyre in no time.
What you’ll need to get started
Before you get started, make sure you’ve got all the right tools, you will need:
- Tyre levers
- A bike pump or CO2 inflator
- An inner tube or patch kit
Step by step guide
1. Take out your wheel
For most bikes, you’ll need to take the wheel out to remove the inner tube. Before removing your rear wheel, shift onto the smallest cog on your cassette.
If you have quick-release wheels at the front and back, undo the quick-release on the skewer. If you have rim brakes on your bikes, you’ll also need to undo the quick-release for the brake so that you can take out the wheel.
Be gentle when pulling out the wheel. If you’re taking out the front wheel, be careful when placing your forks on the floor. Dropping them can damage them, particularly if they are made of carbon.
If you’re removing the rear wheel, gently pull back the derailleur to release the rear wheel from the chain. Guide the wheel out, being careful not to catch the spokes on the frame or get entangled with the chain.
If you don’t have quick-release wheels (for example, if you ride a fixed gear bike or BMX), you’ll need a spanner to undo your wheel nuts. They’re typically 15mm, so keep a suitable sized-spanner handy (or an adjustable wrench).
2. Deflate the tyre
Once you’ve got the wheel out, let all of the air out of the tyre. Even if you’ve had a puncture, there might be some air left in the tyre you’ll need to get rid of.
Remove the dust cap if there is one. If you have Schrader valves (large valves similar like those on your car), press down the pin in the middle of the valve to release the trapped air.
For Presta valves (long and thin valves used on road bikes), unscrew the locknut you see at the end of the valve and then press it in.
3. Remove the tyre on one side
To get to the inner tube, you’re going to need to take off one side of the tyre.
Starting away from the valve, insert a tyre lever under the bead of the tyre and apply some pressure. This should lift one side of the tyre off the rim of the wheel.
An expert tip is that you can hook this lever under a spoke to keep it in place. Trust us, it won’t damage the spoke. Move the tyre level along the rim a few inches and do the same with a second tyre lever.
Once this is done, you should be able to run one of your tyre levers around the entire circumference of the wheel. As you work around the wheel, the tyre will become loser and easier to handle.
4. Remove the tube and find the puncture
You should now be able to remove the deflated inner tube. It’s tempting to chuck the tube in the bin or stuff it in your jersey straight away, but you must identify the original cause of the puncture.
If your puncture was caused by a nail, shard of glass or something else sticking into the tube, you must remove it, or you’ll be dealing with another puncture a few metres down the road.
To identify the cause of the puncture, add some air to the tube. You should be able to see where it’s split. Once you’ve found the hole, check its relation to the valve and check inside the tyre to see where the obstruction is. You can run your fingers around the inside of your tyre, but you could nick your finger so be careful.
If you find the cause of the damage, remove it. Also, check the outside of the tyre too. Shards of glass on the outside of the tyre can work their way through the rubber if they’re left in place.
5. Fix the puncture
Bike tubes can be repaired if you’re prepared to put in a little work. Take your tube and rough up the area of the puncture slightly with some sandpaper – this will help the patch to stick to the tube.
Then, add glue to the area, stick down your patch and wait a moment for the glue to dry. If you have self-adhesive patches, just apply it like a sticker. Make sure it’s airtight by putting a little bit of air into the tube.
Lots of riders prefer to carry a spare inner tube instead. Spare tubes are cheap, easy to carry and it’s much quicker to swap a tube at the roadside than repair one. Don’t worry, you can stash it in your back pocket or bag and fix it when you get home or recycle it.
6. Replace the tube
If you’ve repaired your tube, or using a brand new replacement, it’s time to put it in place.
Start by inserting the valve. If you’re using a Presta valve, use the supplied nut to hold it gently in place. Now tuck the tube inside the tyre at the valve and work your way around the wheel.
Tubes without air can be flappy and challenging to manage. Adding a small amount of air to the tube can help your tube hold its shape, making it easier to slot into place. It’s not essential, but it can help – just don’t add too much!
7. Put your tyre back on
Starting near the valve, tuck the bead of your tyre back onto the rim. Make sure your inner tube ends up inside the tyre and not trapped between the tyre bead and the rim, because this can cause another puncture.
Work your way around the wheel with your thumbs, pushing your tyre onto the rim. You may be able to roll the tyre onto the rim, but if it gets too difficult, use your tyre levers to push the tyre on to the rim.
8. Inflate your tyre
All that’s left now is to put some air into your tyres. As you’re pumping up the tyre, check that the tyre is seated on to the rim properly.
Once you’re happy it’s in place, pump up your tyre to the required pressure, and you’re ready to go. You can use your CO2 to do this more quickly if you have it – just watch out for freezing your fingers!
When your tyre is fully inflated, put your wheel back into your bike. Tighten the quick release skewer or bolts, and the quick release on your brake too. Spin the wheel to ensure that it’s fitted correctly and check your brakes before setting off.
Can you fix my puncture?
Yes! We’re happy to replace your tubes and fix your punctures in store.